Windows 10にVirtualboxをインストールする方&そのVirtualboxにLinux環境を構築する方法。
こんにちは、にわこまです。
今回は、OSがwindows 10であるラップトップにvirtualboxをインストールする方法とそのvirtualboxにlinux環境を構築する方法を紹介します。他のOSの仮想環境を構築することでアプリケーションのテストを行うことができます。
誤字脱字など何かございましたらご連絡お願いいたします。
スポンサードサーチ
Windows 10にVirtualboxをインストールする方法
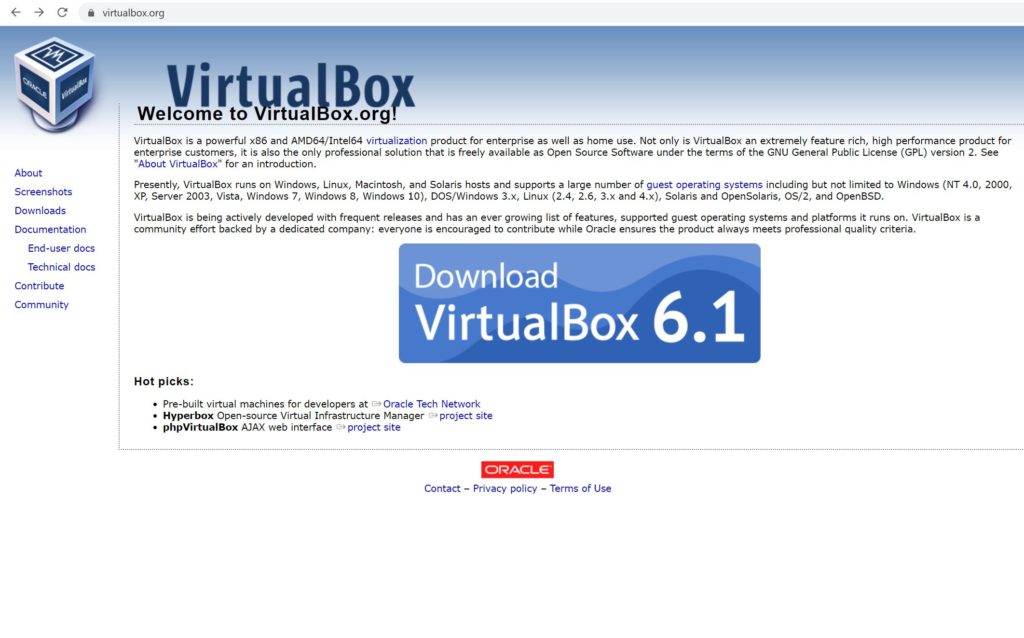
1.virtualboxの公式ページへ移動します。https://www.virtualbox.org/
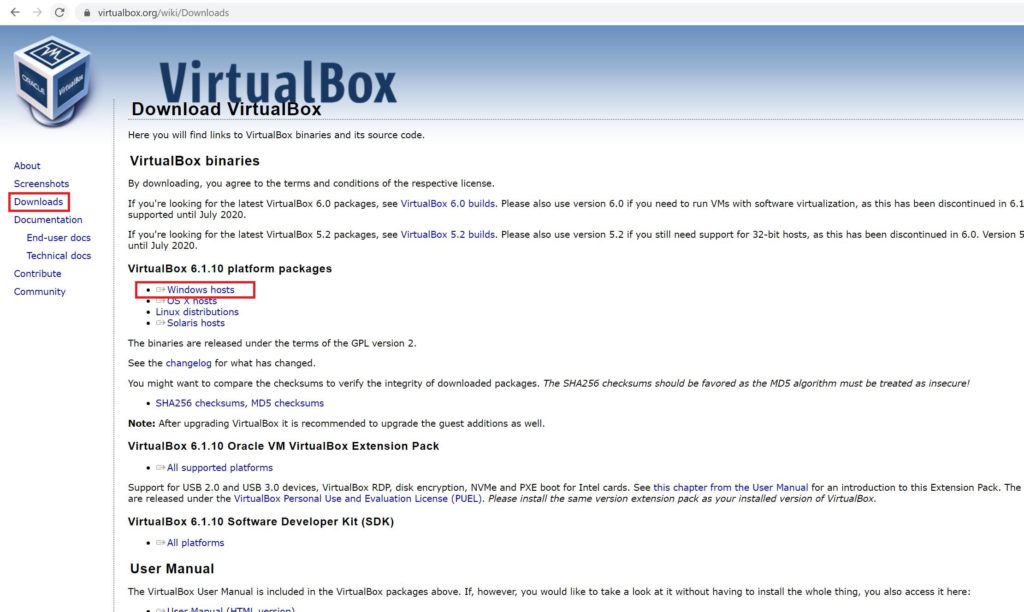
2.左側の「Downloads」を選択し、ダウンロードページに移動します。
移動後は、「Windows hosts」を選択し、ダウンロードを開始します。
3.ダウンロードが完了したら、自身のパソコンの「ダウンロード」にある「VirtualBox」を右クリックします。そして、「管理者として実行」をクリックします。

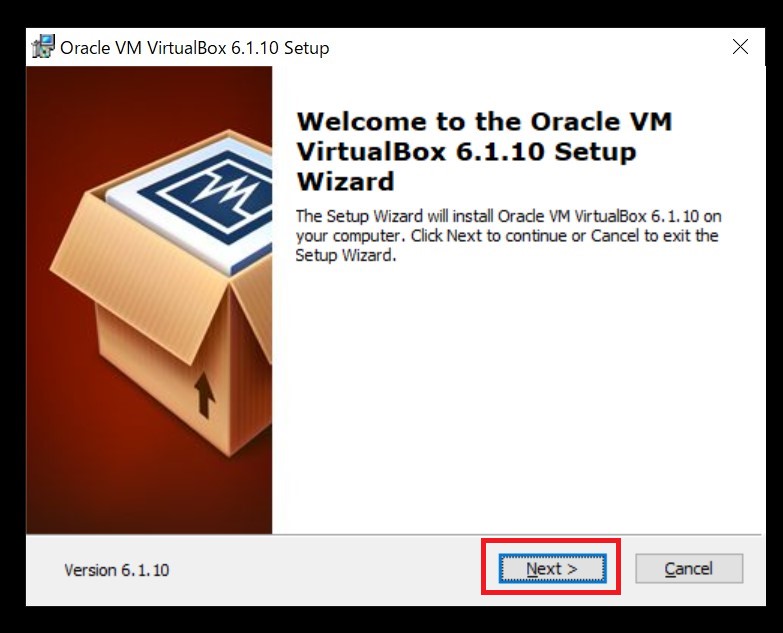
4.インストーラーが起動したら、「Next」をクリックします。
5.基本的に何もいじらず、「Next」をクリックします。
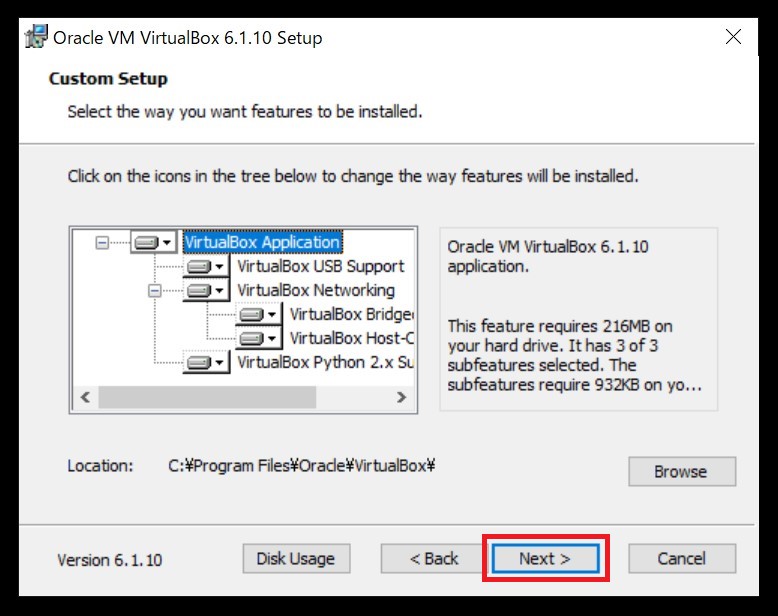
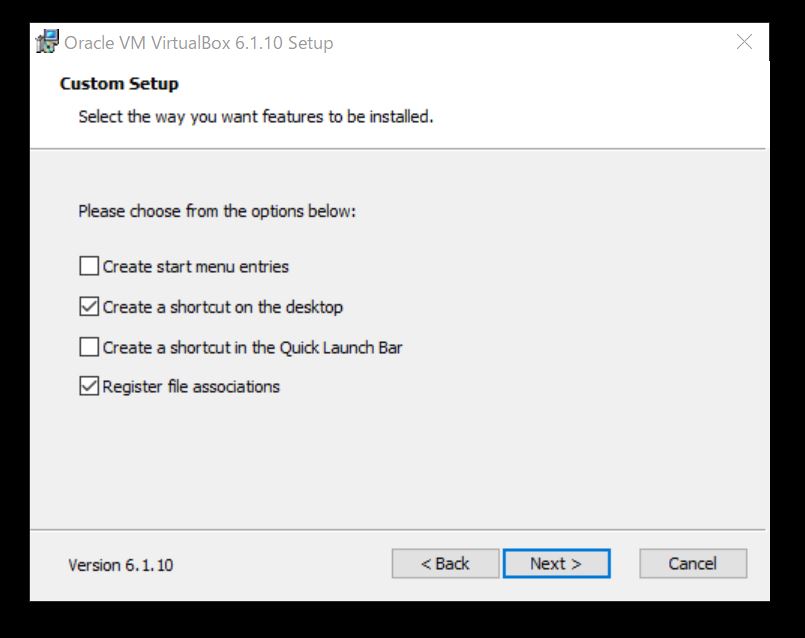
6.基本的に全ての項目にチェックが付いていても問題はありませんが、私は以下のようにしました。
項目の意味を以下に示します。
「Create start menu entries」→ スタートメニューに登録します。
「Create a shortcut on the desktop」→ デスクトップにショートカットを作ります。
「Create a shortcut in the Quick Launch Bar」→ クイックラウンチバーにショートカットを作ります。
「Register file associations」→ 関連ファイルを登録します。
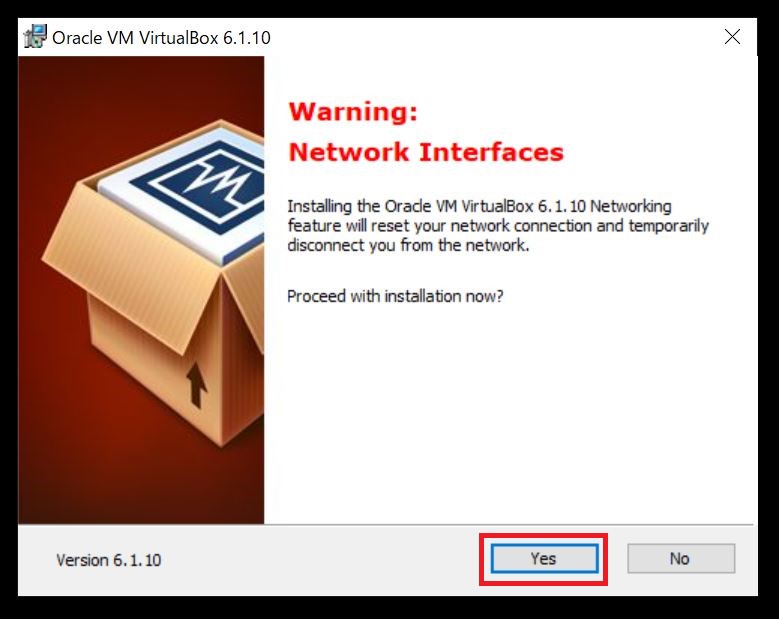
7.警告が出ますが、無視して「Yes」をクリックします。
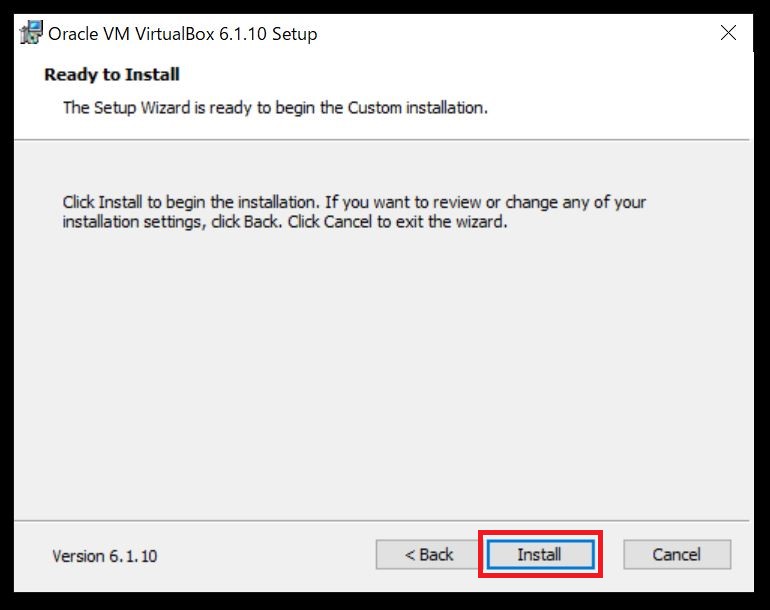
8.インストールを開始するため、「Install」をクリックします。
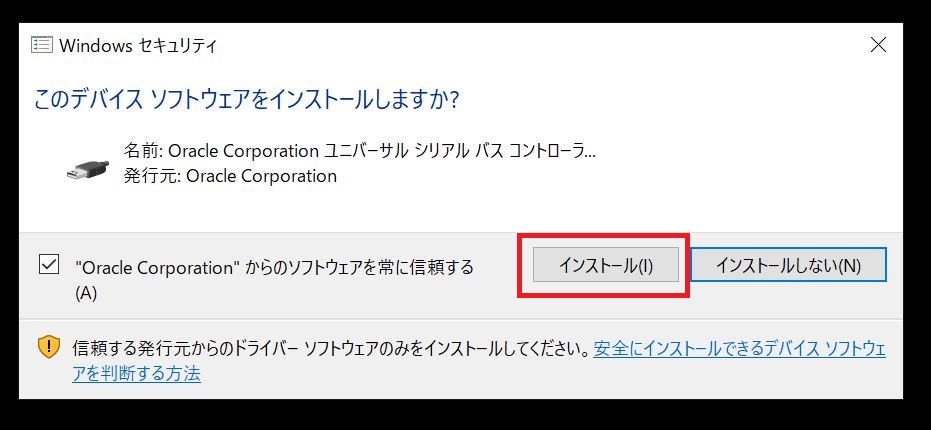
9.以下のような警告が出る場合がありますが、「インストール(i)」を選択します。
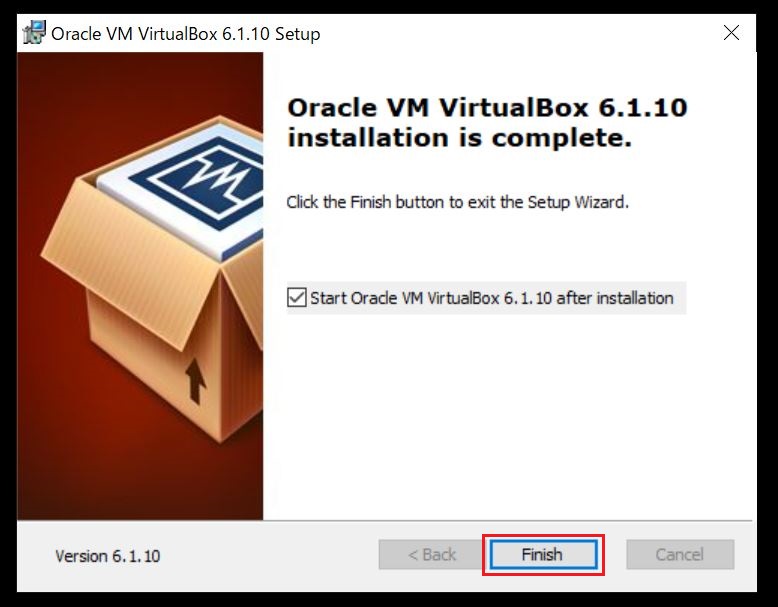
10.項目にチェックを入れて、「Finish」をクリックします。
11.virtualbox起動後は以下のような画面が表示されます。

以上で、windows 10にvirtualboxをインストールする方法の説明は終了です。
VirtualboxにUbuntuをインストールする方法
virtualboxにubuntuをインストールすることでlinux環境と整えます。
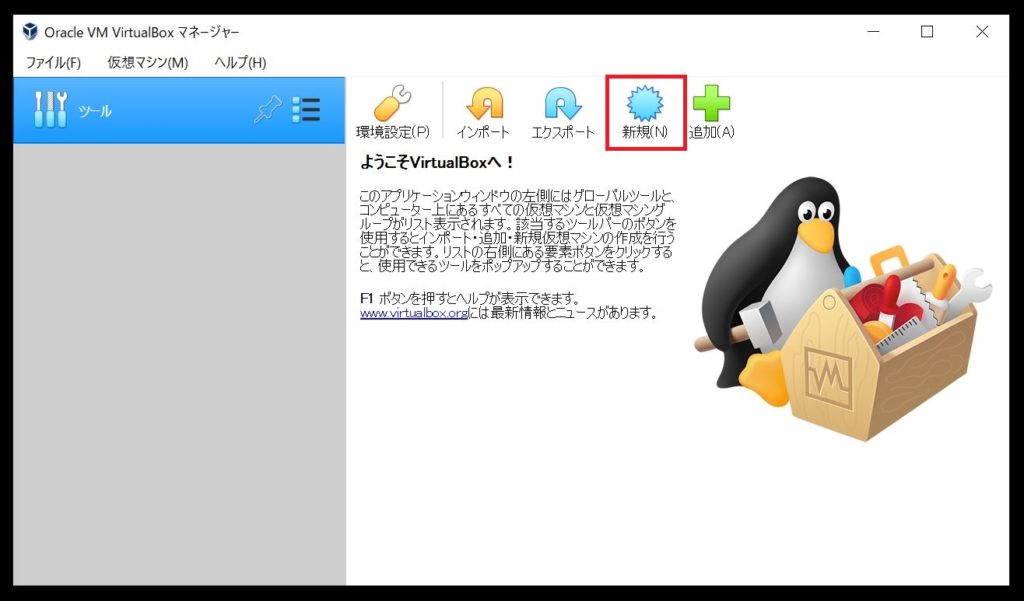
1.virtualboxを起動させ、「新規」をクリックします。
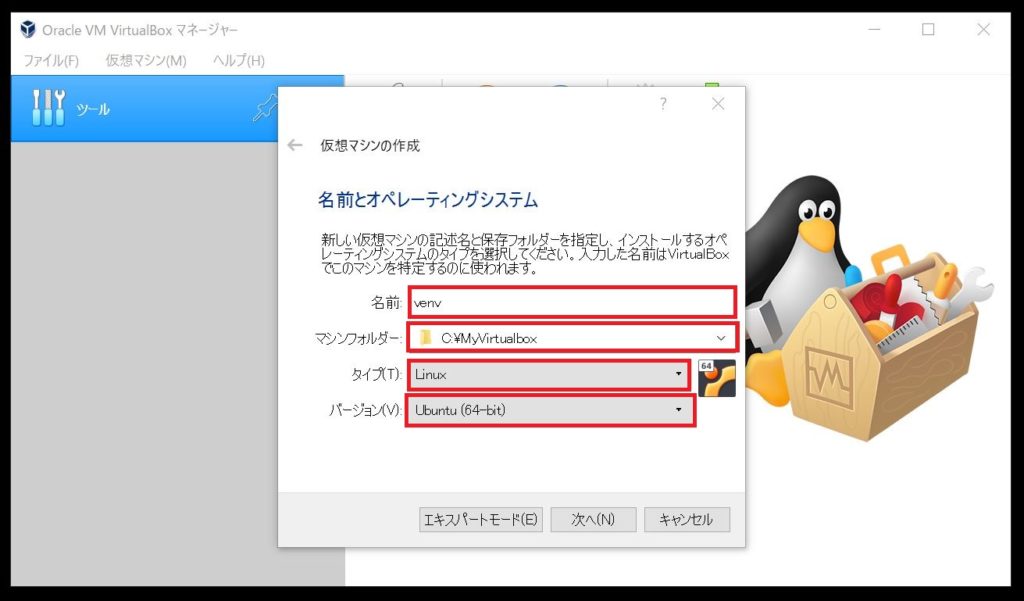
2.「名前」と「マシンフォルダ」を任意に指定します。タイプは「Linux」、バージョンは「Ubuntu(64-bit)」にします。私は以下のように設定しました。
名前:venv
マシンフォルダ:C:\MyVirtualbox
タイプ:Linux
バージョン:Ubuntu(64-bit)
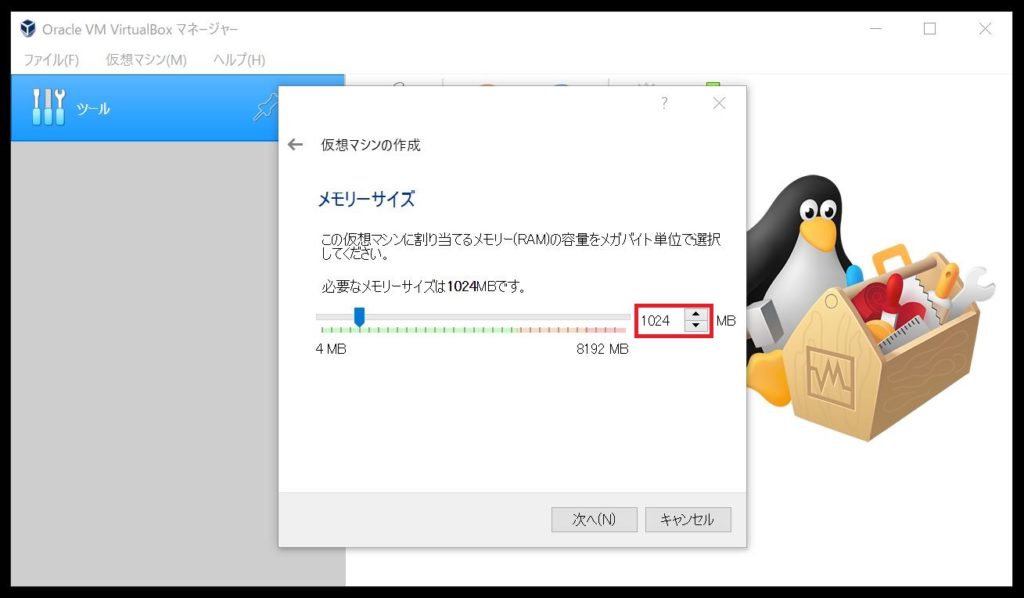
3.「1024」に設定します。1024より大きくすることで動作が軽くなります。
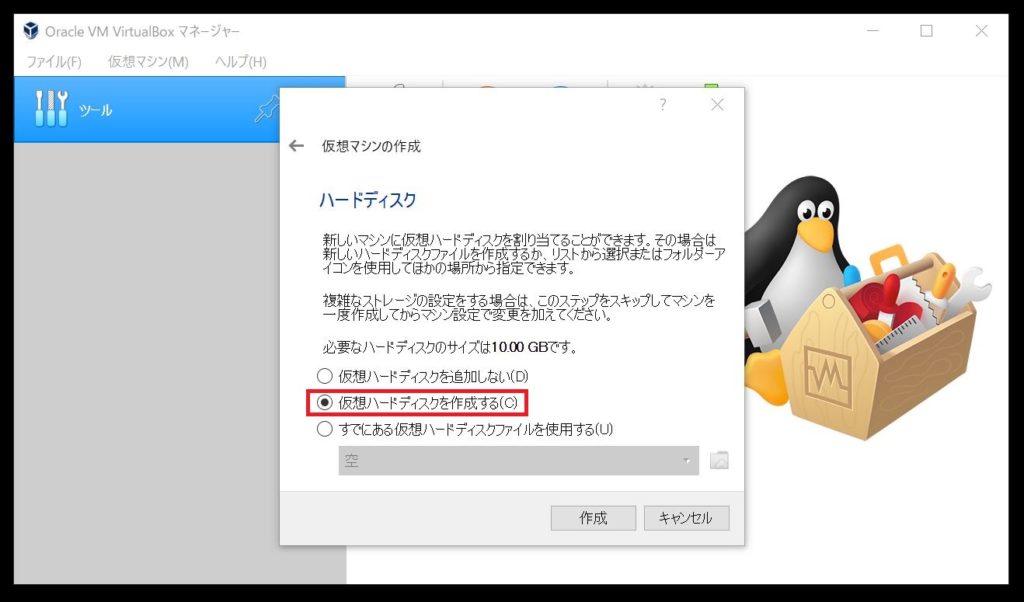
4.「仮想ハードディスクを作成する」を選択します。
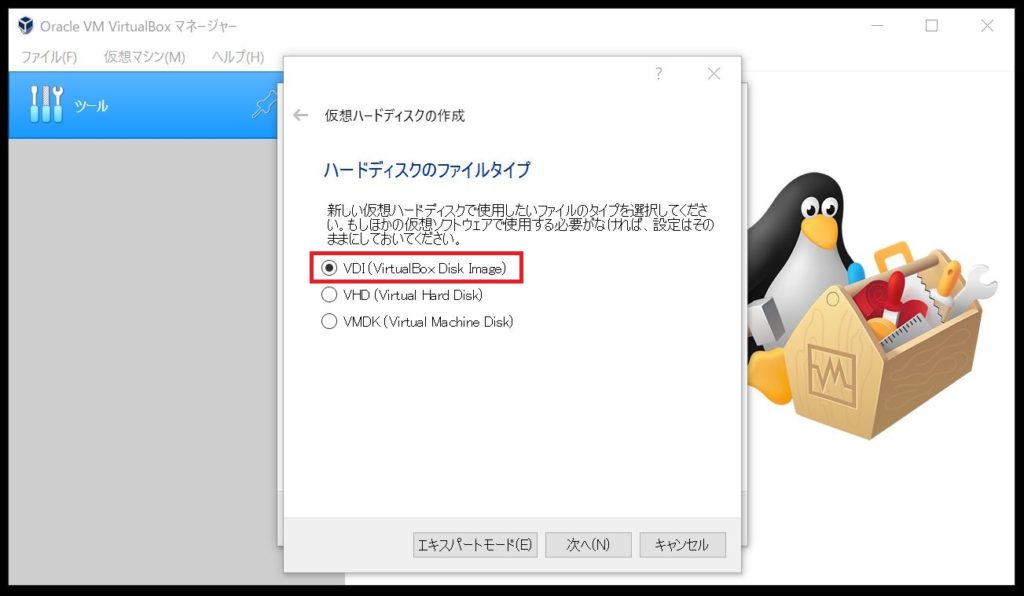
5.「VDI(VirtualBox Disk Image)」を選択します。
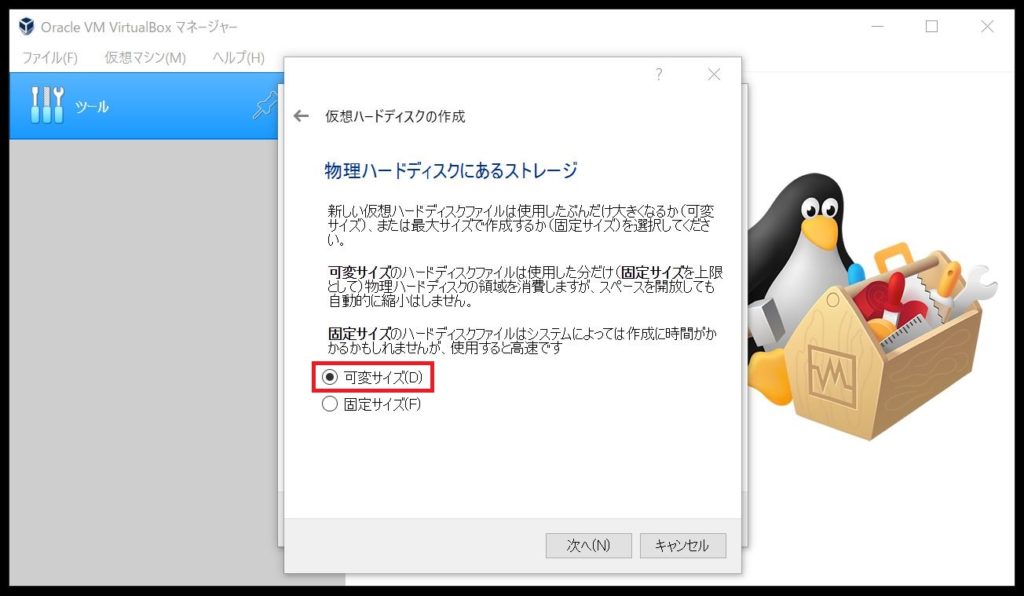
6.「可変サイズ」を選択します。
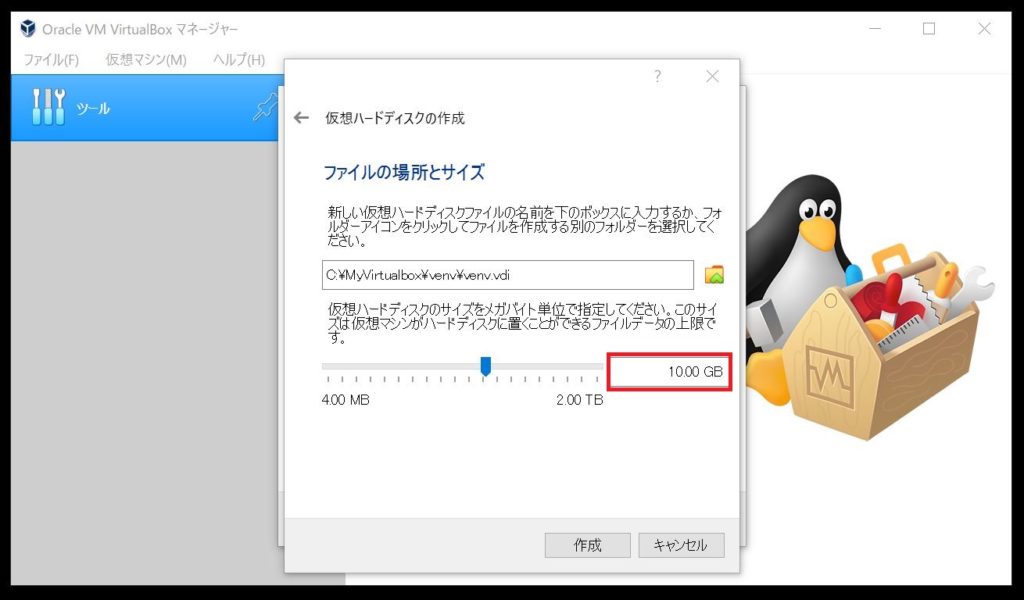
7.「10」に設定します。環境構築後に何かをインストールする予定がある人は増やしておきましょう。
8.完成すると以下のような画面が表示されます。
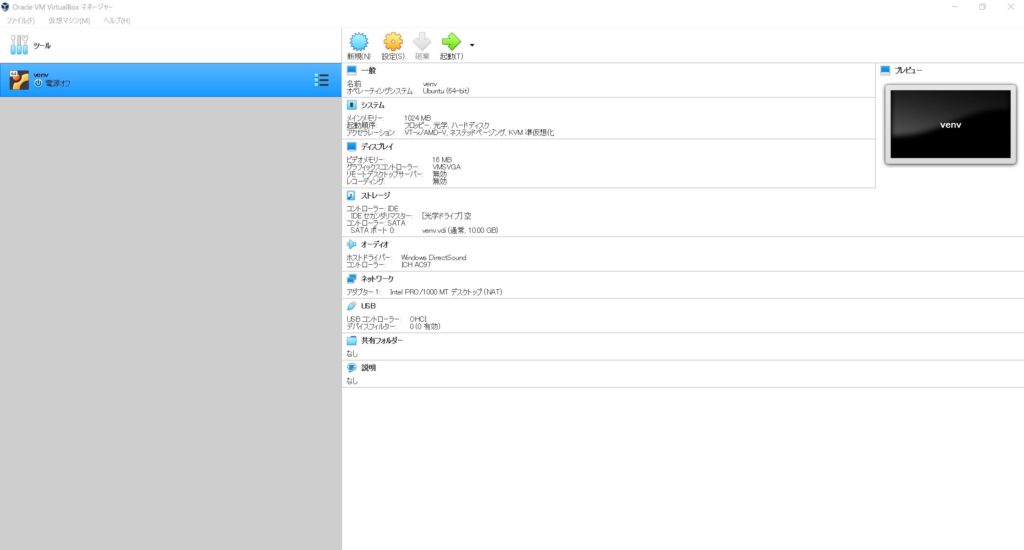
以上でvirtualboxの下準備は完了です。ubuntuのダウンロードとインストールを行います。
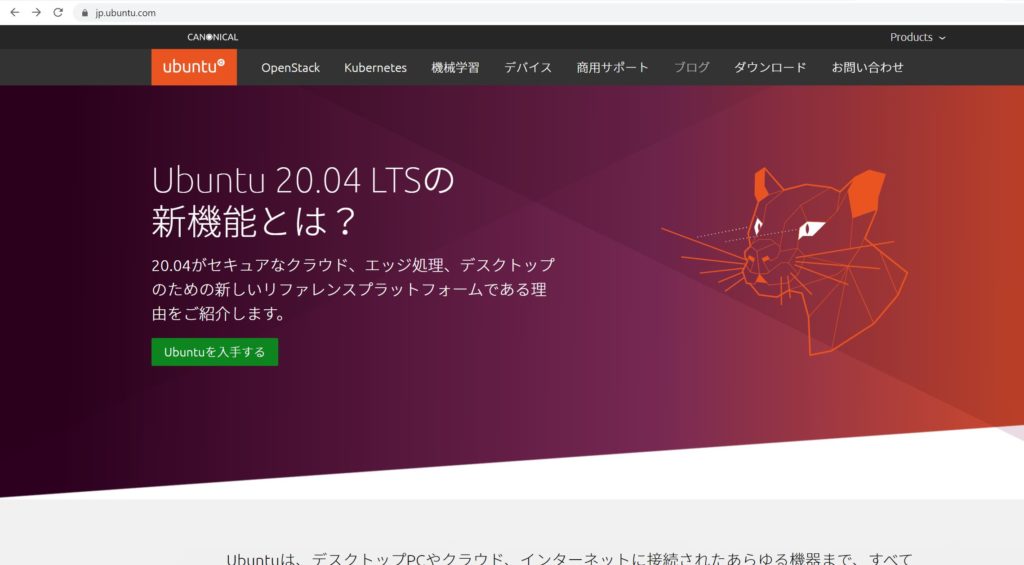
1.ubuntuのトップページに移動します。https://jp.ubuntu.com/
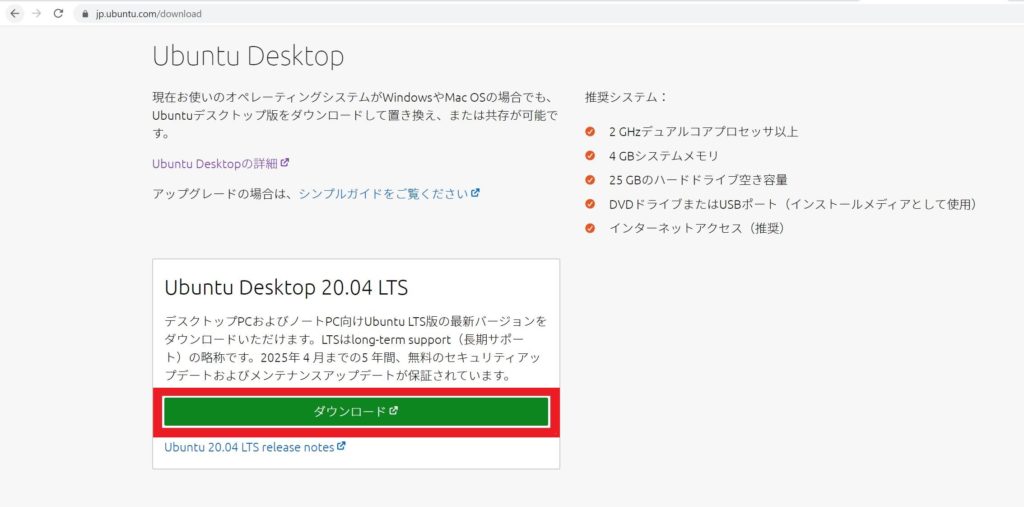
2.ダウンロードページに移動し、下へスクロールします。「Ubuntu Desktop 20.04 LTS」のダウンロードをクリックします。
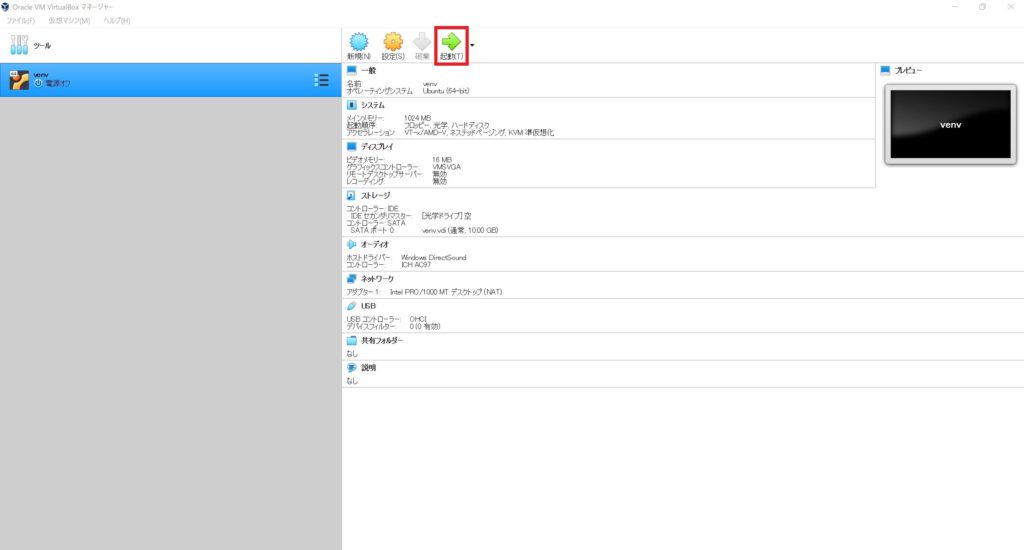
3.ダウンロードが完了したら、virtualboxに戻り先ほど設定した環境で起動をクリックします。
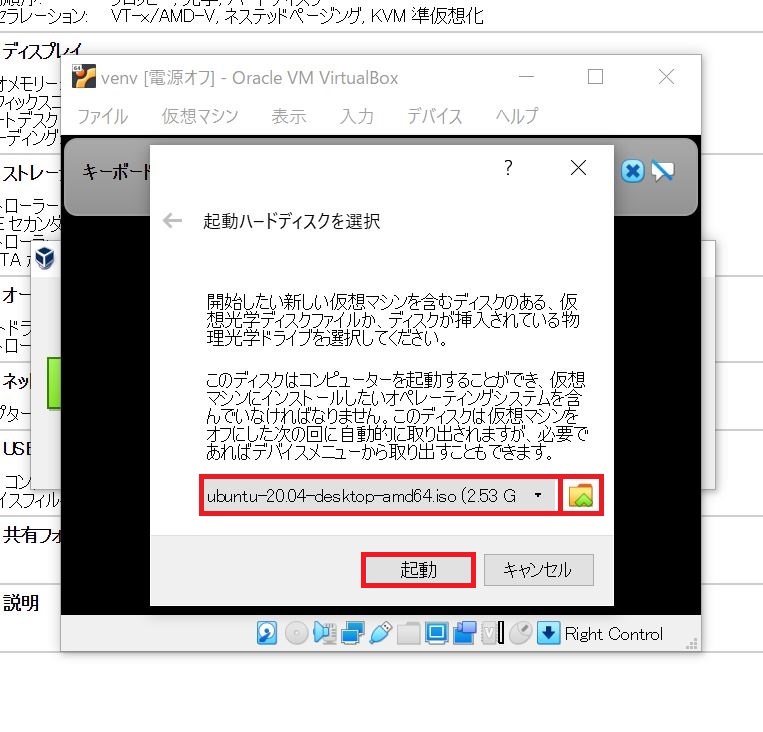
4.OSを設定するウィンドウが表示されます。右側のファイルマークをクリックし、ダウンロードしたubuntuを選択します。選択が終わったら「起動」をクリックします。
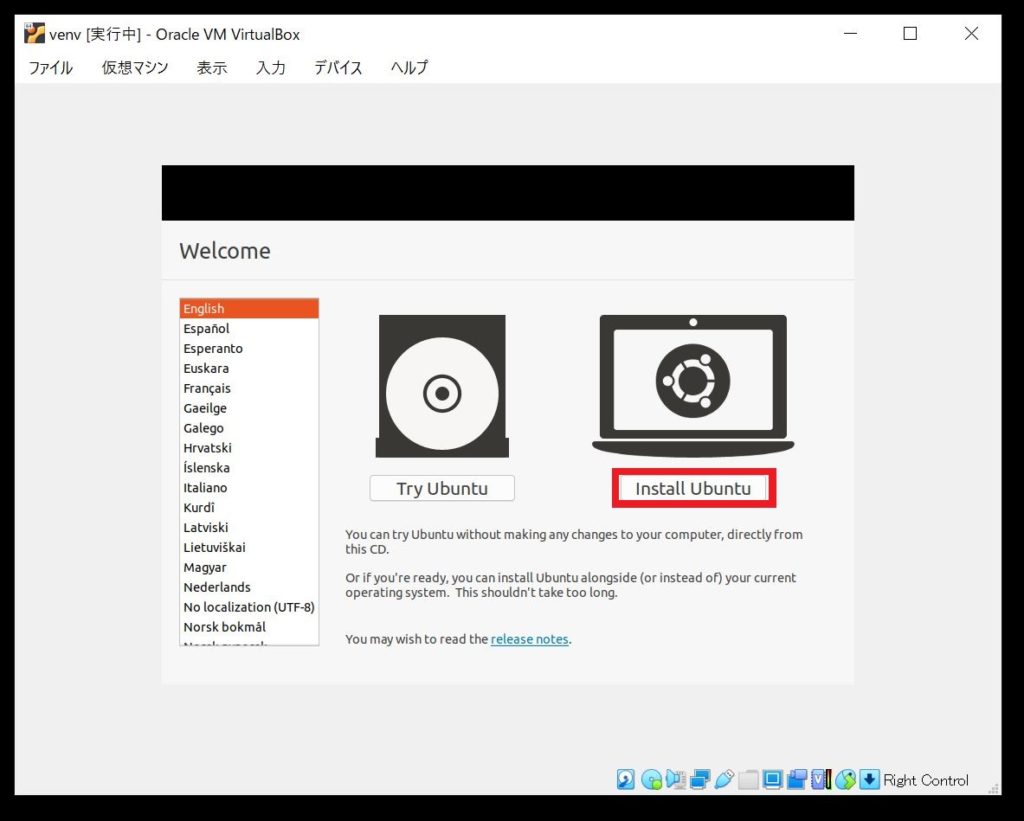
5.以下のようなページが表示されたら、「Install Ubuntu」をクリックします。
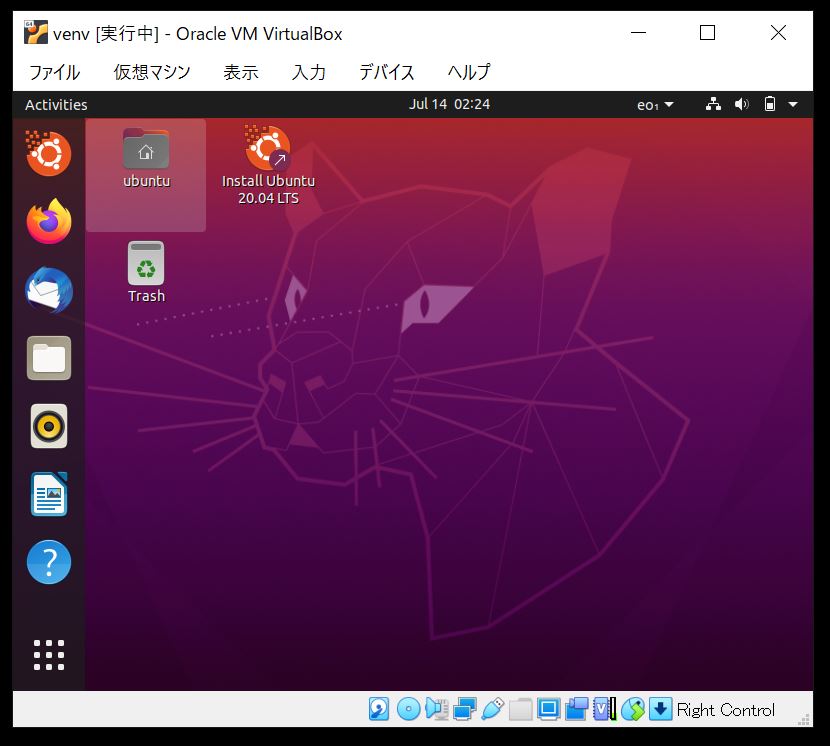
6.以下のようなウィンドウが生成されるまで待ちます。表示されれば、ubuntuのインストールは完了です。
スポンサードサーチ
まとめ
今回は、windosw 10にvirtualboxをインストールする方法とそのvirtualboxにubuntuをインストールする方法を紹介しました。
最後までお読みいただきありがとうございます。
スポンサードサーチ
